

Subscribe
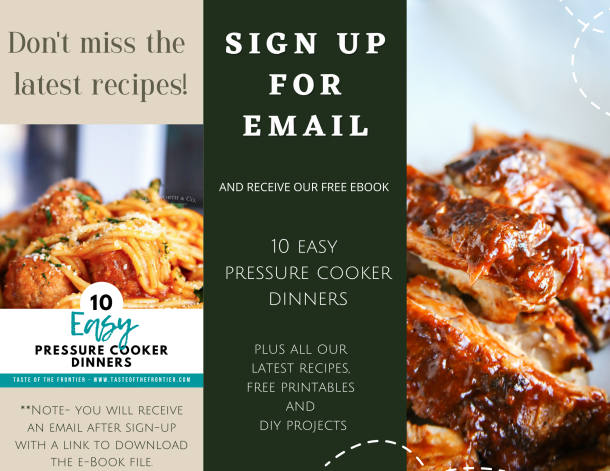
Latest In Your Inbox
Subscribe for the latest recipes, diy, printables and more in your inbox
Trending Cinco de Mayo
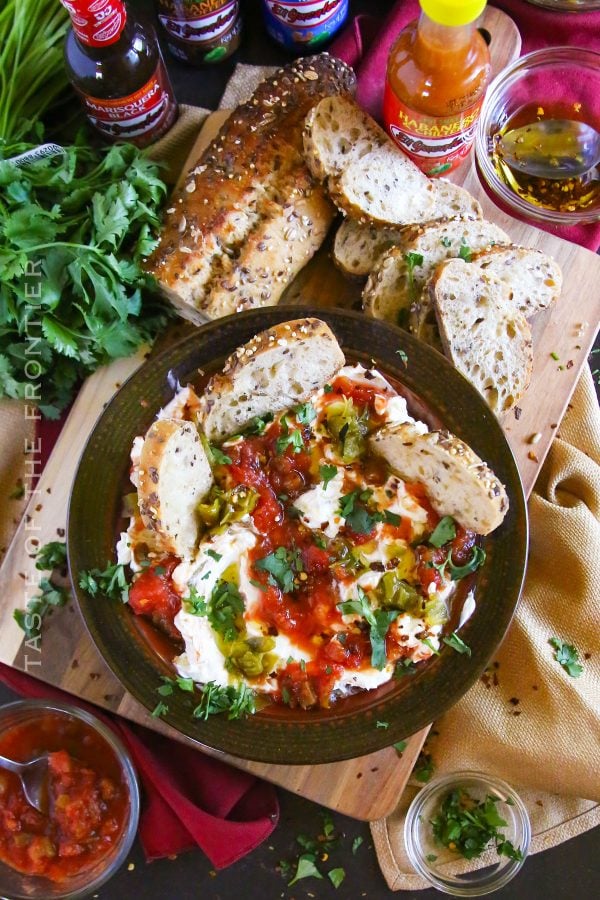

Browse All
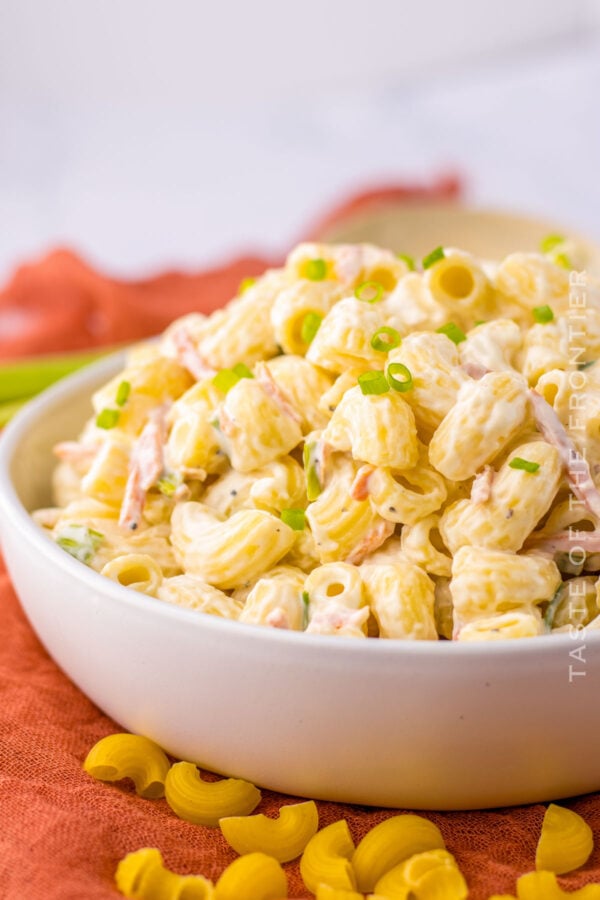
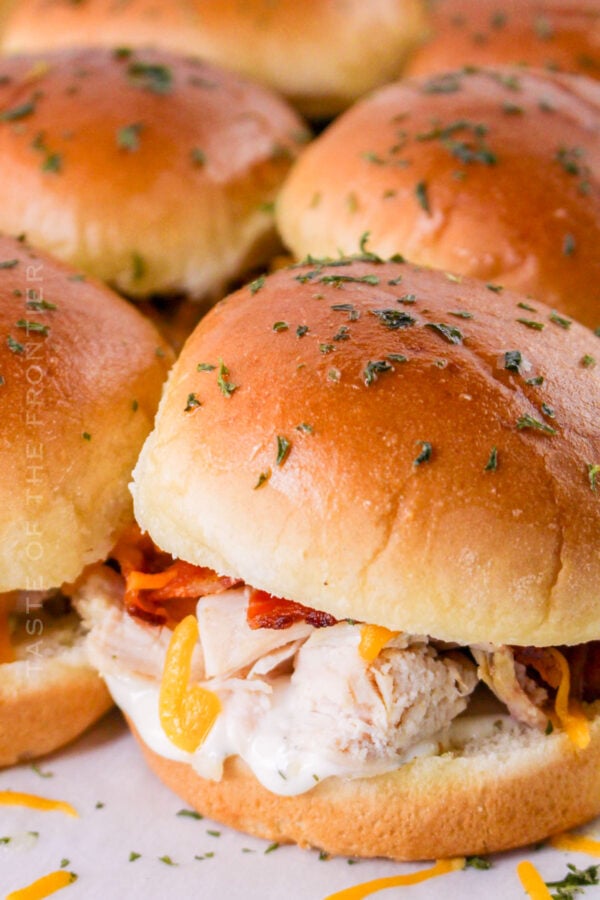
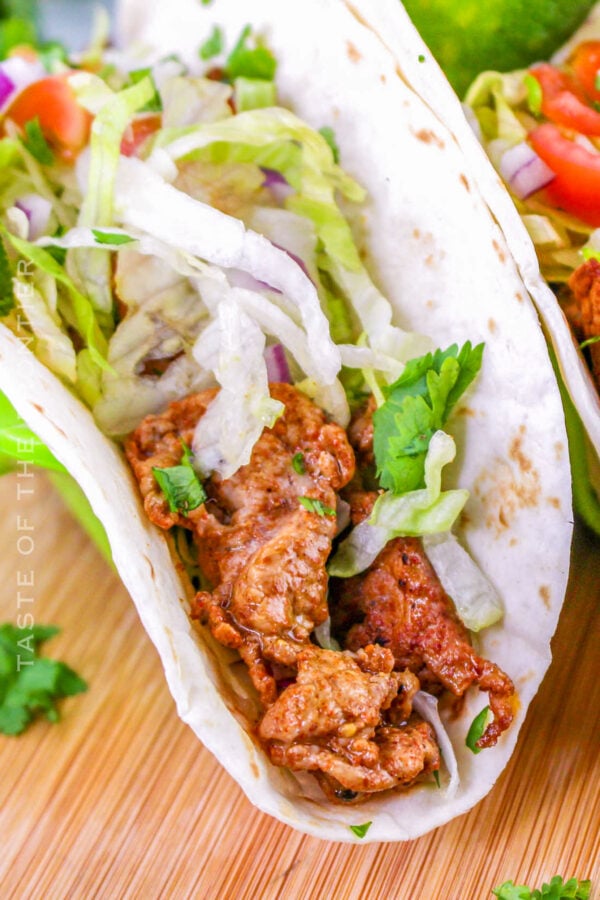
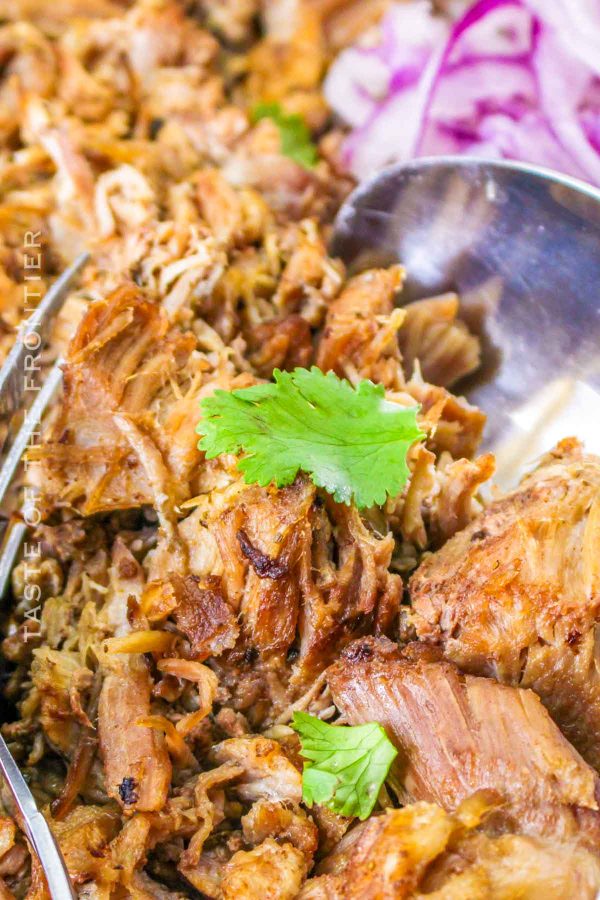
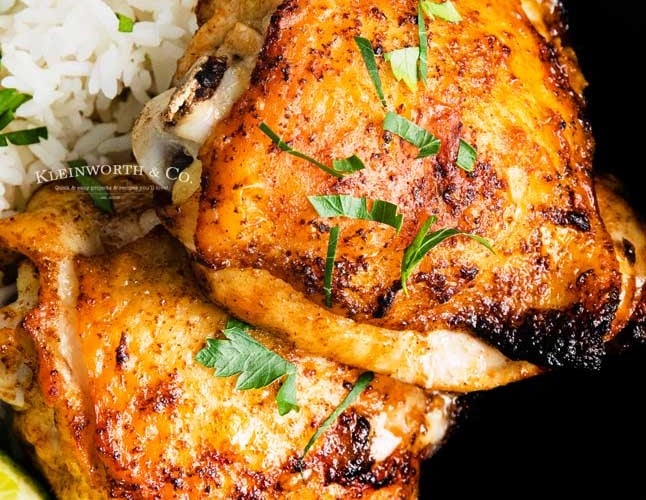
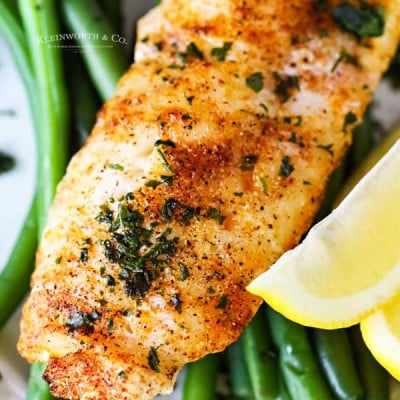
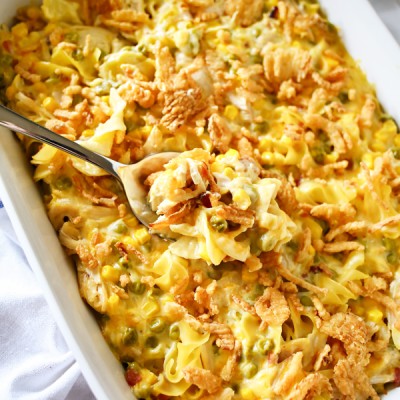
Dinner Recipes
Not sure what to make for dinner tonight? We’ve got you covered with hundreds of easy dinner recipes!


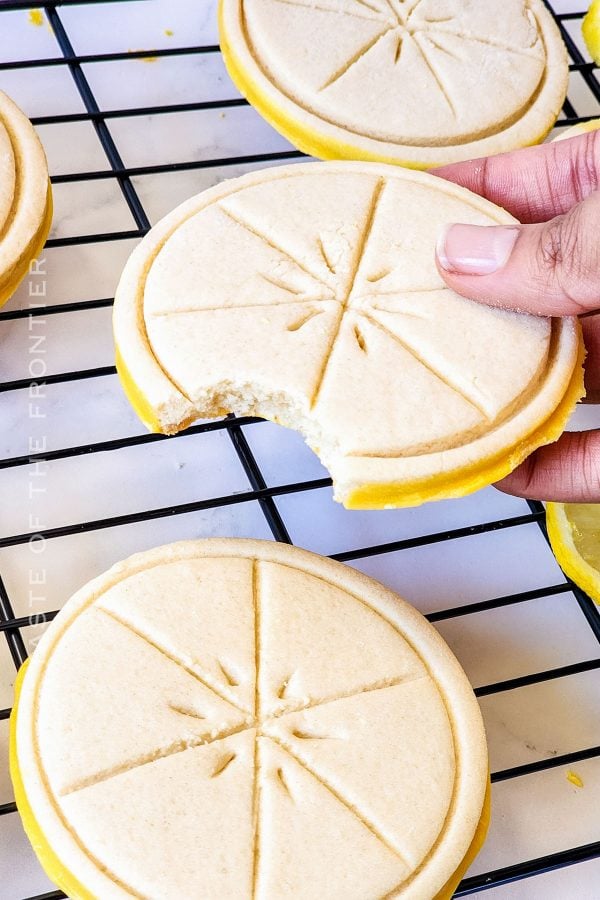
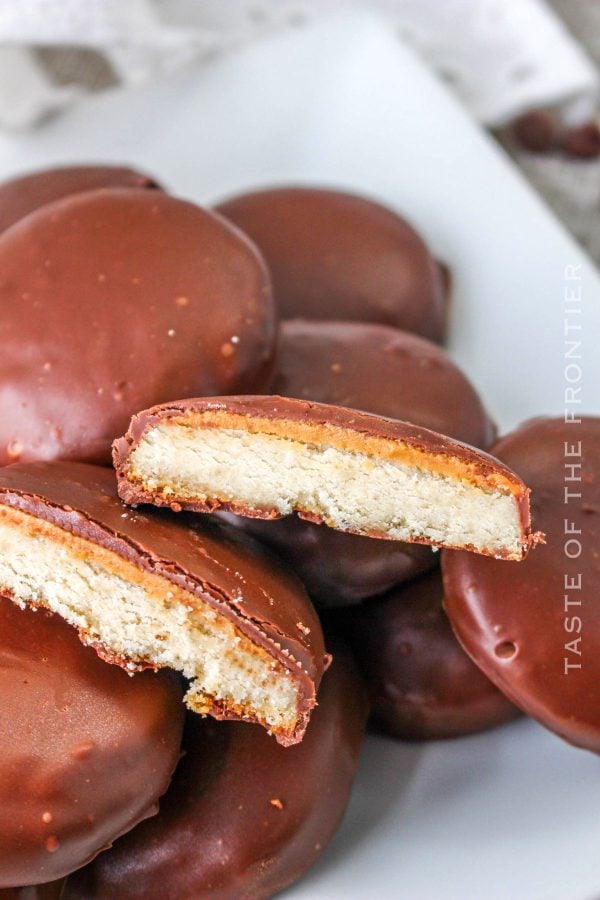
Reader’s Favorite COPYCAT GIRL SCOUT COOKIE Recipes


Browse All
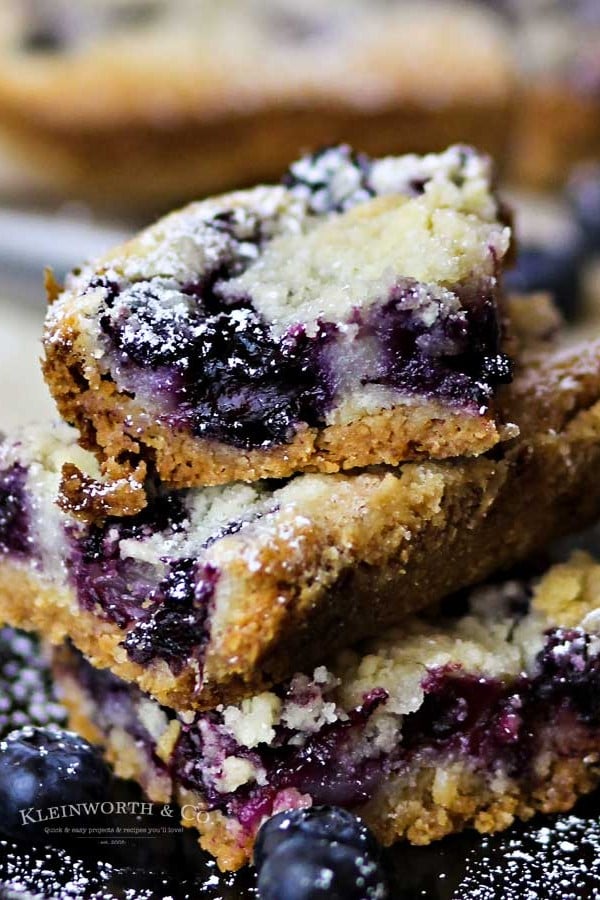
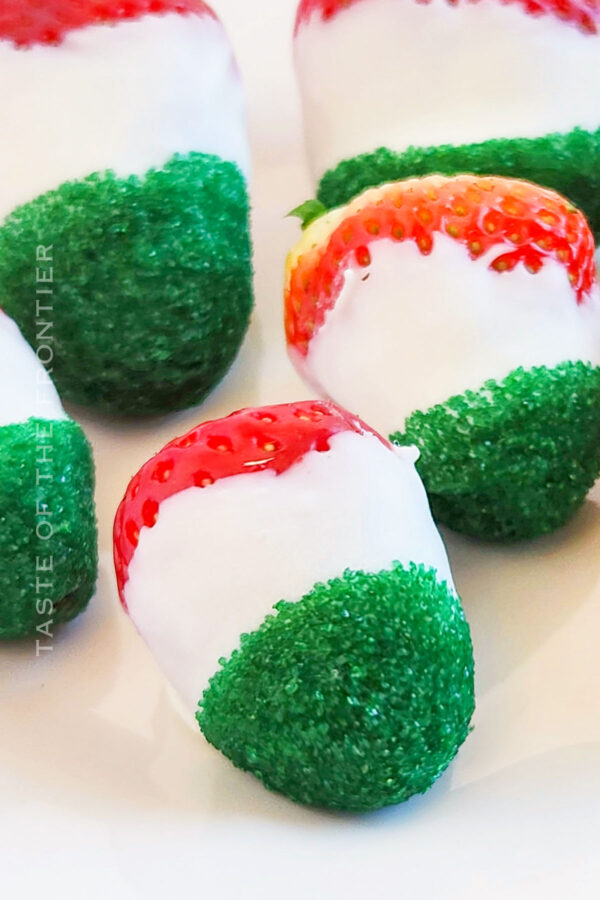
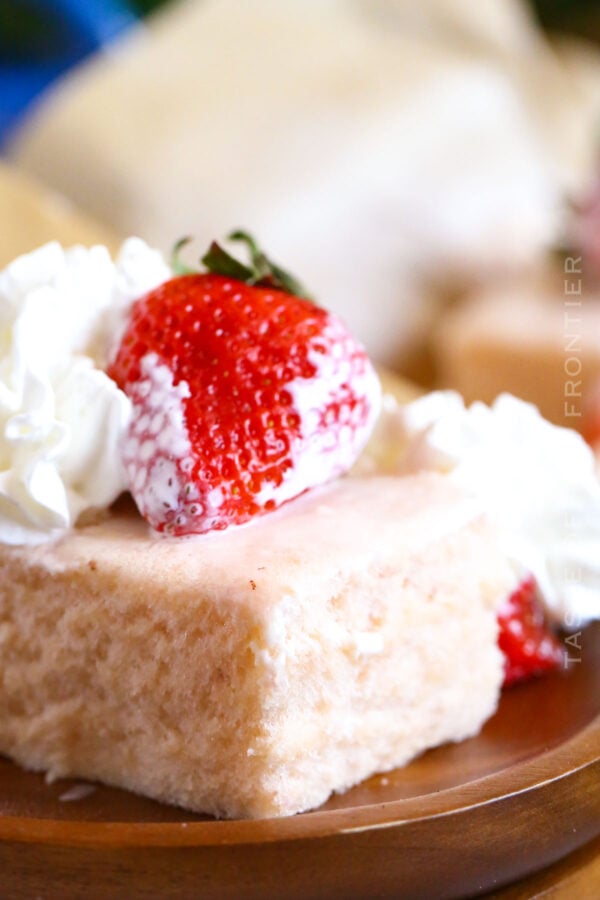
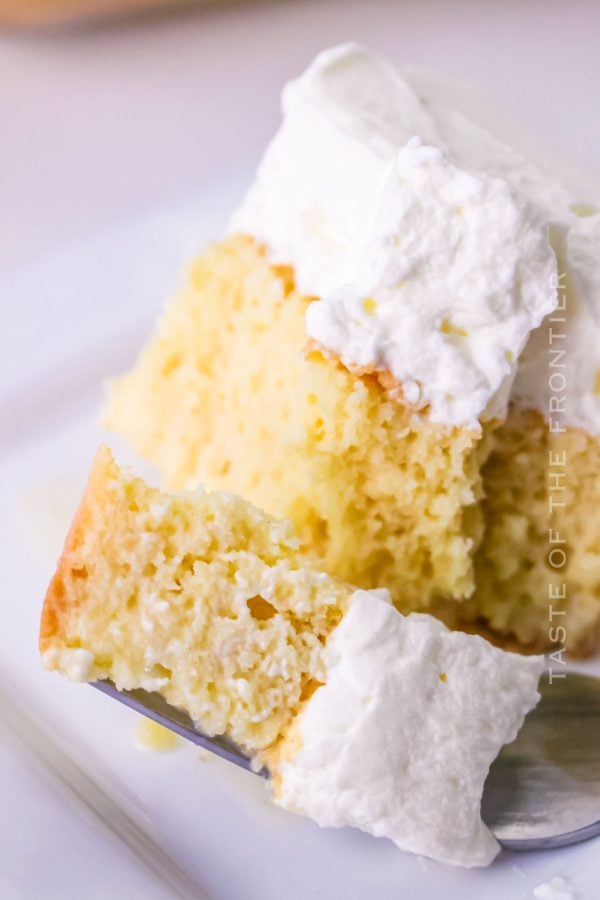
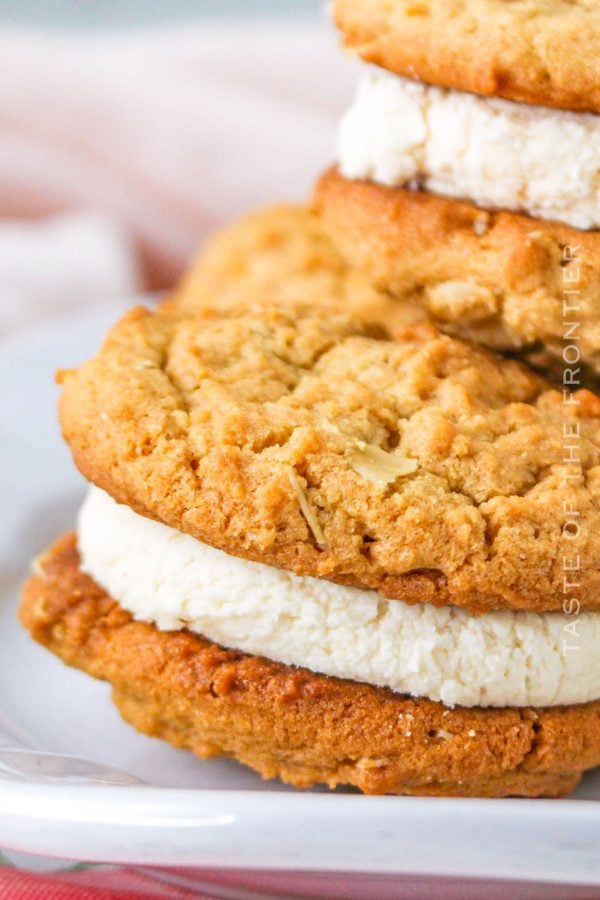
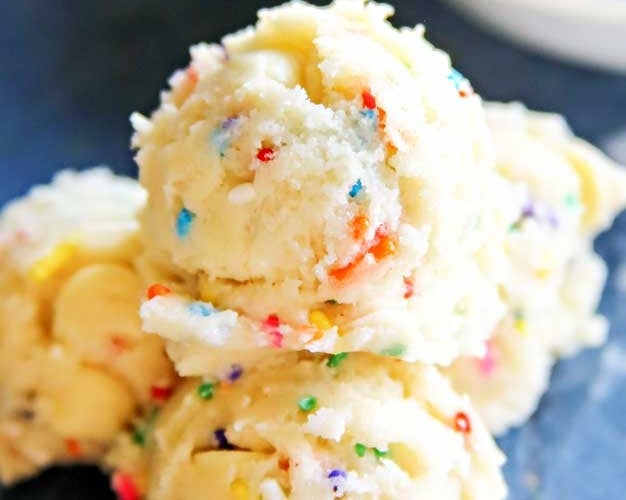
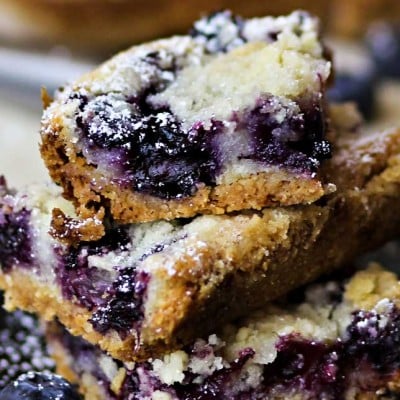
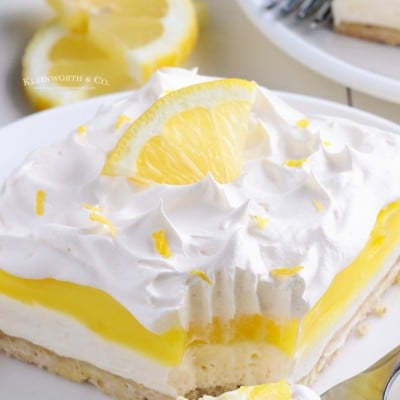
Dessert Recipes
Browse all of our dessert recipes to satisfy any sweet tooth, from bars and brownies to delicious cakes. We’ve got you covered!


DIY & Printables
-

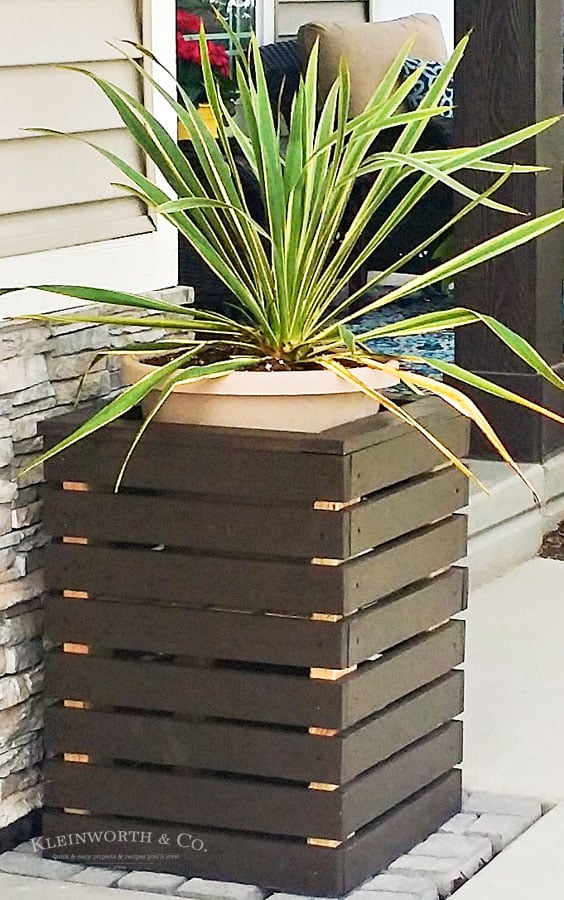
DIY Modern Planter Boxes
If you have ever wondered how to make a planter box or wanted to just spruce up your front porch or garden, -

Cupcake Birthday Cards – Free Printable
Cupcake Birthday Cards – Free Printable to help you wish the most special in your life a wonderful day. Great way to -

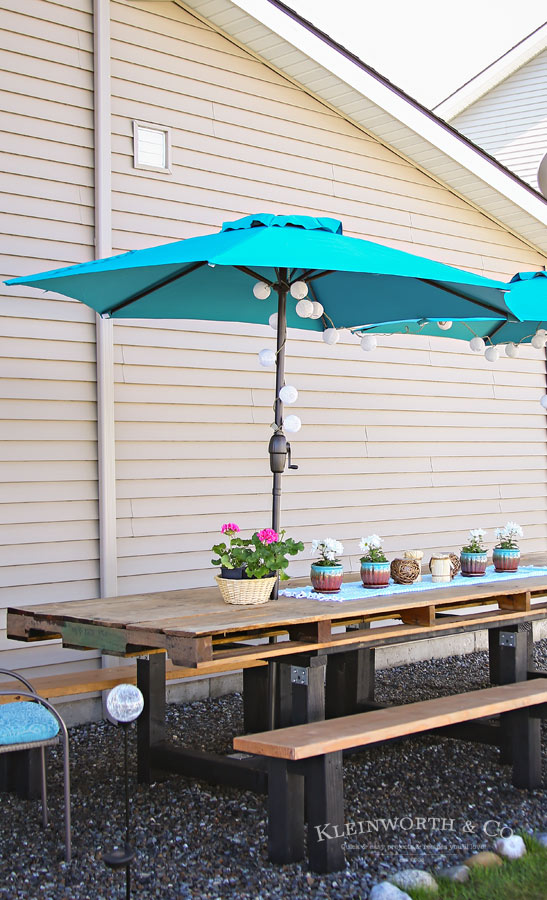
DIY Pallet Outdoor Dining Table
If you love pallet furniture, then you’ll want to check out my DIY Pallet Outdoor Dining Table. This is a simple weekend -
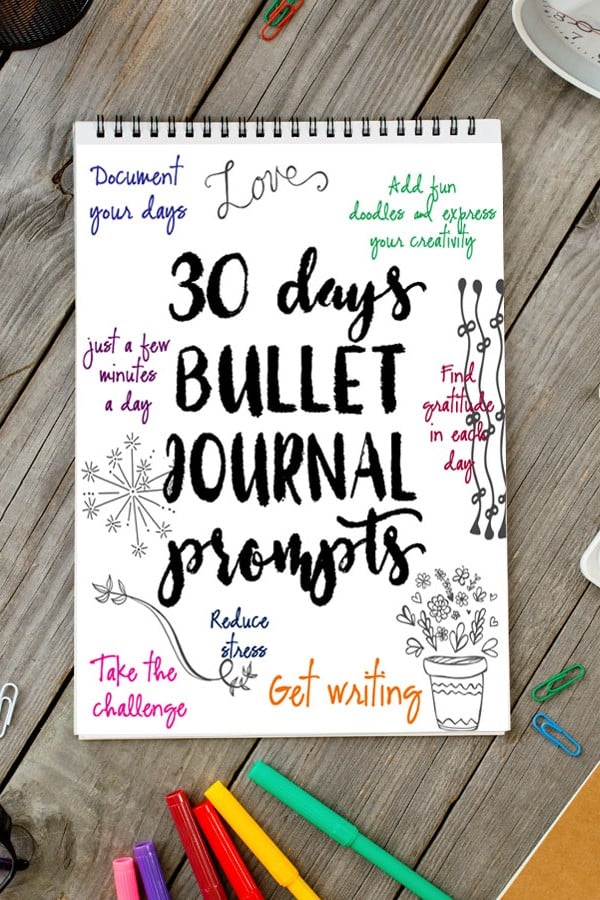
30 Days Bullet Journal Prompts Free Printable
30 Days Bullet Journal Prompts. Journaling made easy with Free Printables to get you started. Start any time of year & great